The next step is to get the retractable landing gear setup, and so with that in mind I bent and cut the gear. I installed the wheels and am holding them in place with some rubber stoppers I had lying around from some pushrod connectors.
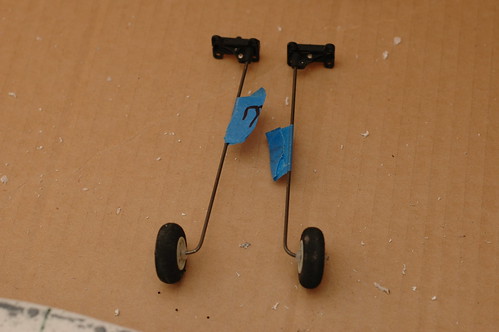
I probably need to secure the wheel stops with a dab of glue, but I'm going to leave that until I'm sure everything is sitting right. It turns out bending wire exactly is harder than I thought, so one is very slightly longer than the other. I'm hoping it won't be a problem.
I went through a bunch of the little tasks that I'd been putting off as well. I finally glued in the plywood that will hold the elevator and rudder servos in,

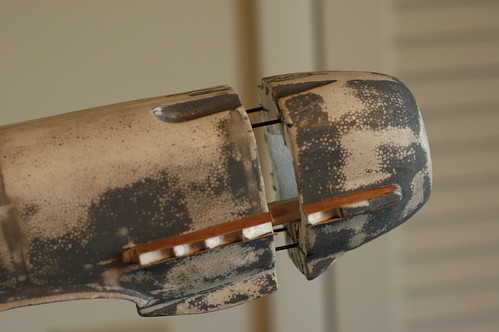
I finally got around to gluing in the rods that will hold the engine nacelle on,
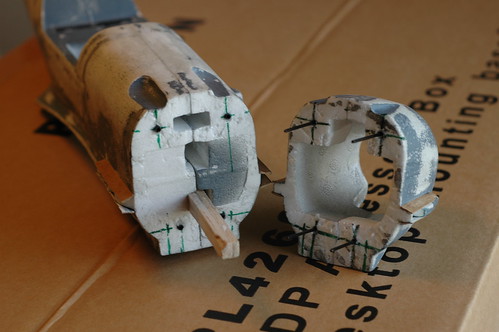
(Tip: I left the nacelle actually assembled as the glue dried to ensure the pieces would fit together night and snug. I used vaseline on the ends of the tubes to keep them from getting glue inside them and a peice of paper-towel in between the two halves to absorb any excess glue. Worked great.)
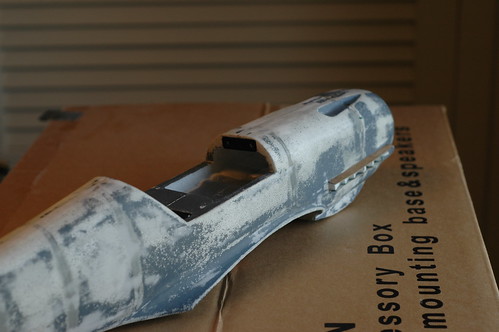
And made some cardboard sidewalls for the exhaust ports,
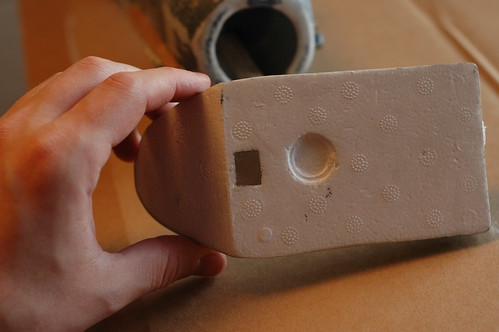
Also I got the steel plate and magnets glued in for the cockpit (the hatch that covers the battery),
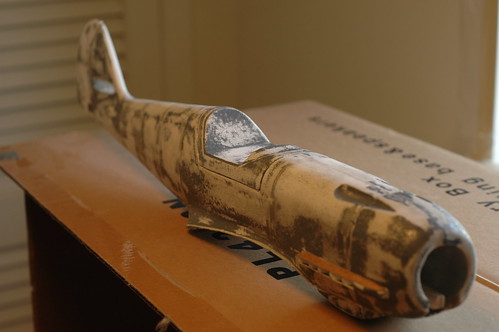
Now the cockpit sits in nice and tight and is held in place by the magnets. It's actually beginning to look like a real plane now (about time).
Next stop, more wing-work.
No comments:
Post a Comment